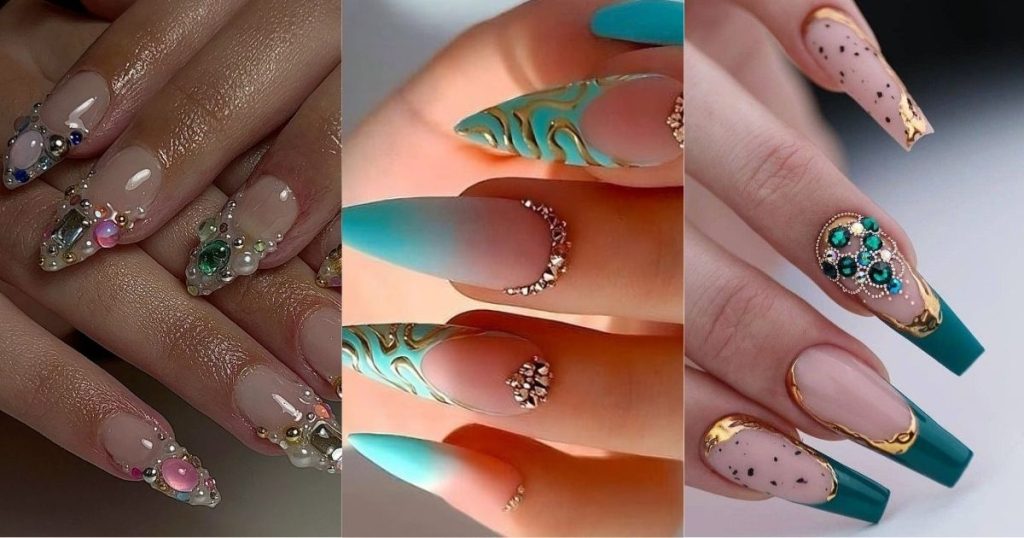
Who doesn’t love a little sparkle? Regarding nail art, rhinestones are the perfect way to add that extra bit of glam. They’re versatile, eye-catching, and can transform even the simplest manicure into a work of art. Let’s dive into the dazzling world of rhinestone nail designs and discover how to elevate your nail game.
Classic Rhinestone Nail Designs
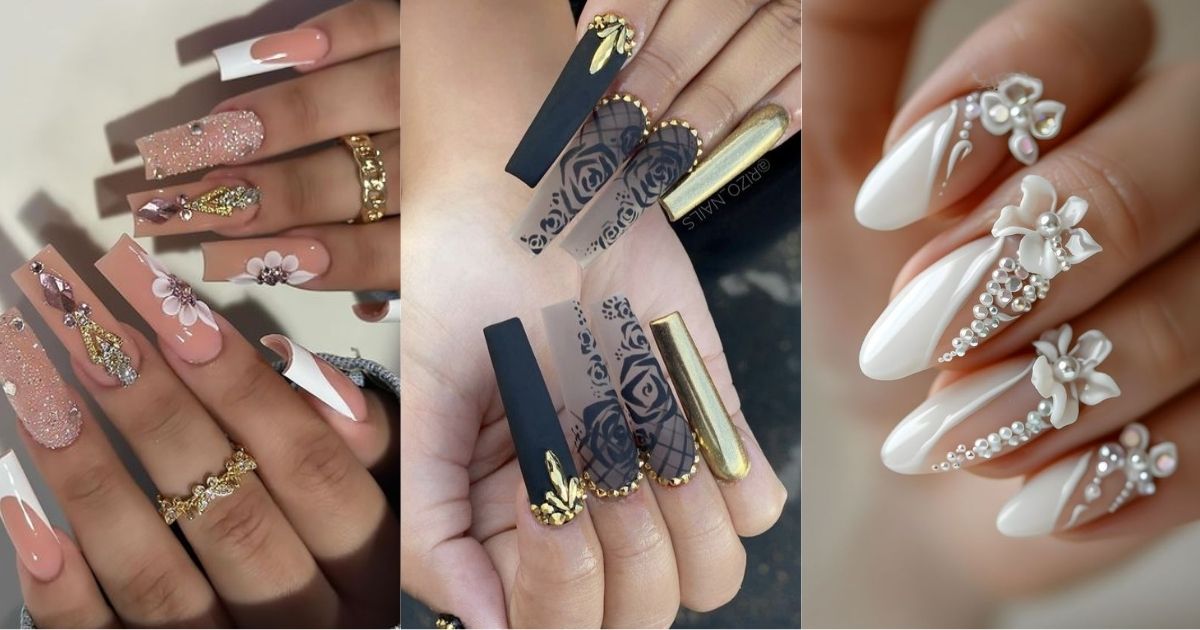
Sometimes, less is more. Classic rhinestone designs prove you don’t need to go overboard to make a statement. These timeless looks are perfect for those who want to dip their toes (or should we say fingers?) into the world of blinged-out nails.
1. Minimalist rhinestone accents
Want to add a touch of sparkle without going full disco ball? Minimalist rhinestone accents are your best bet. Here’s how to nail the look:
- Choose a single finger on each hand for your accent nail
- Apply a clear or nude polish as your base
- Place one or two small rhinestones near the base or tip of the nail
- Seal with a top coat for long-lasting shine
Pro tip: Odd numbers often look more natural and visually appealing. For a balanced look, try using one, three, or five rhinestones.
2. Rhinestones at the cuticle
This design is about framing your nails with a delicate line of sparkle. It’s like a necklace for your nails! To achieve this look:
- Apply your base color and let it dry completely
- Using nail glue or a gem gel, place small rhinestones along the cuticle line
- Space them evenly for a polished look
- Finish with a top coat, being careful not to disturb the rhinestones
3. Rhinestones along the nail edge
Go for this stylish design. It’s simple but eye-catching, great for adding a touch of glamour to your daily look. Here’s how:
- Paint your nails with your chosen color
- Once dry, apply a thin line of nail glue along one edge of the nail
- Carefully place rhinestones along the glue line
- Repeat on all nails or just accent nails
- Seal with a top coat for extra durability
Bold and Glamorous Rhinestone Styles
Ready to turn heads? These bold styles are not for the faint of heart. They are all about embracing the bling and letting your nails do the talking.
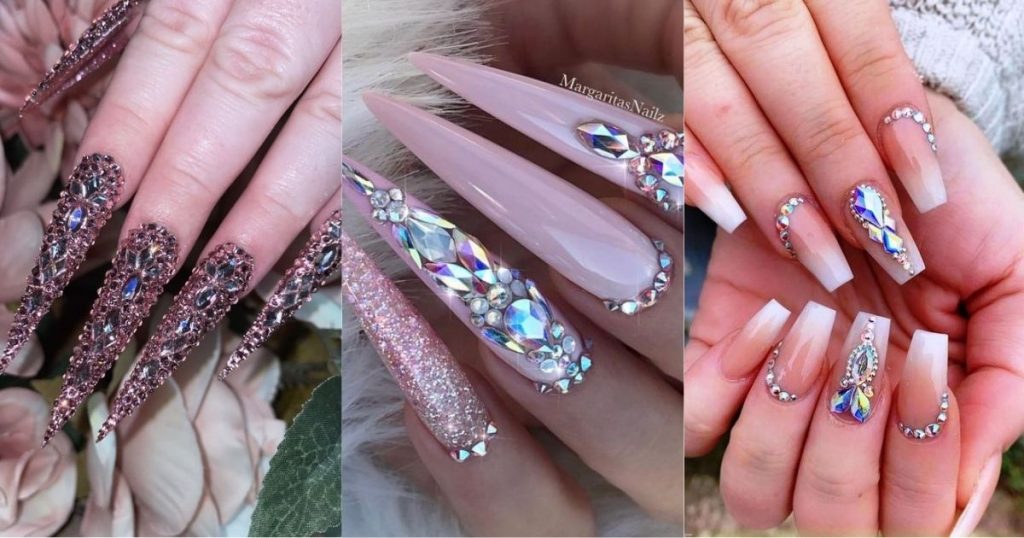
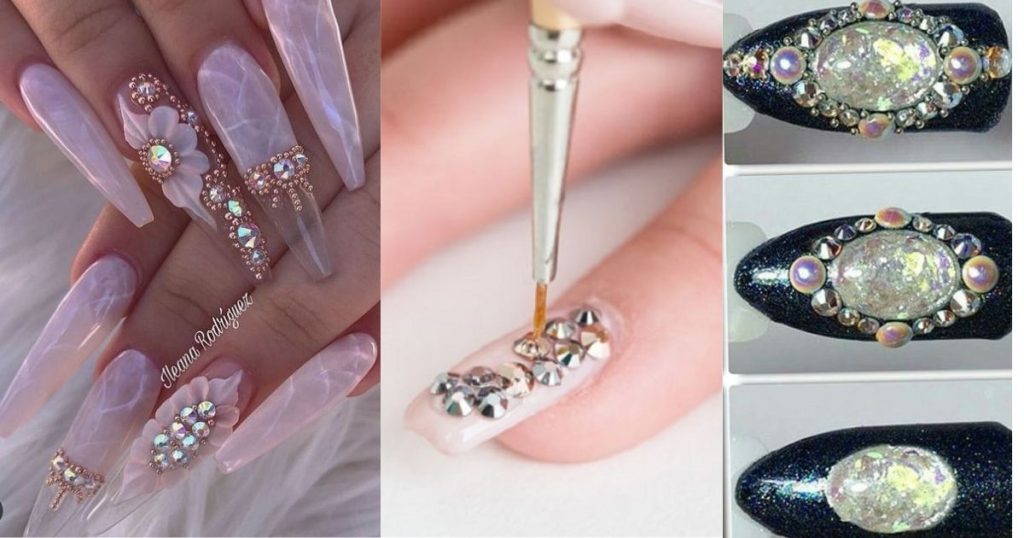
4. Fully blinged-out rhinestone nails
This style is for those who believe there’s no such thing as too much sparkle. Here’s how to get the look:
- Apply a base coat in a color that complements your rhinestones
- Once dry, cover the entire nail with nail glue or gem gel
- Using tweezers, place rhinestones closely together, covering the entire nail
- Fill in any gaps with smaller stones
- Seal with a thick layer of top coat
Warning: These nails might make you want to dance and show off your hands!
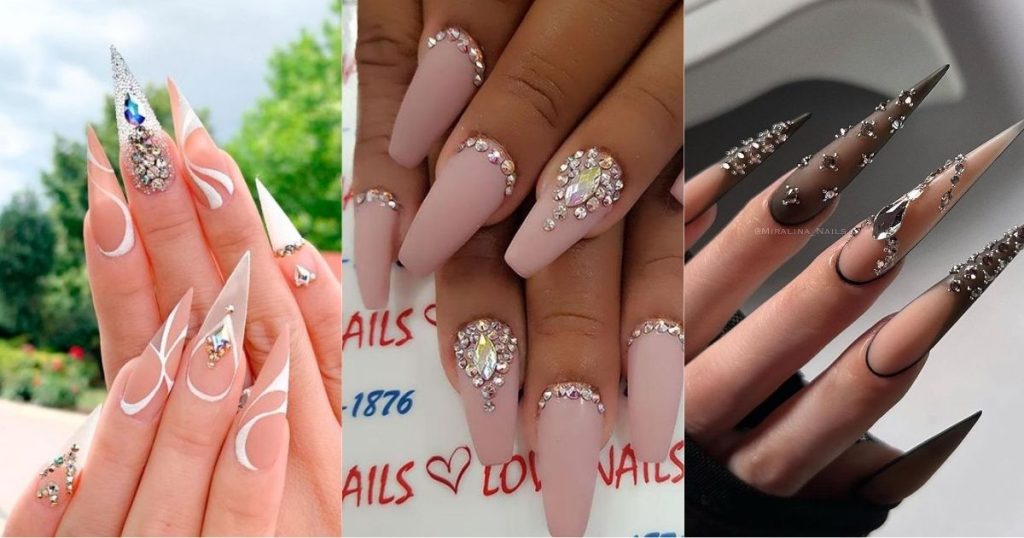
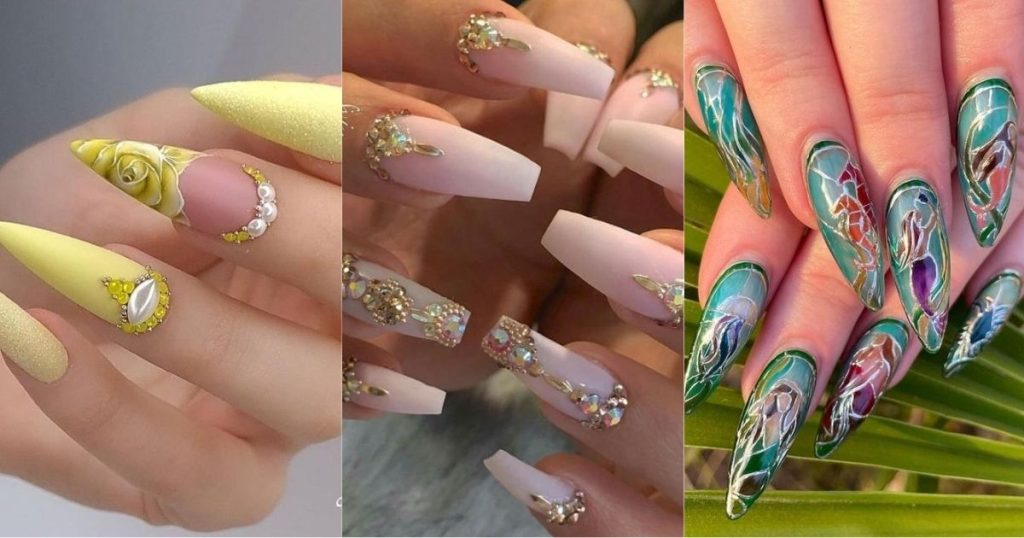
5. Giant gems and statement pieces
Why stick to tiny rhinestones when you can go big? Large gems make a bold statement and can turn your nails into miniature works of art. Try this:
- Choose one or two nails on each hand for your statement pieces
- Apply a base color that contrasts with your gems
- Use nail glue to secure larger rhinestones or crystals in the center of the nail
- Surround the large gem with smaller stones for added sparkle
Remember: With great bling comes great responsibility. These larger stones might stain on the fabric, so be careful!
6. Multi-shaped rhinestone clusters
Who says you have to stick to one shape? Mix it with various rhinestone shapes and sizes for a unique look. Here’s how:
- Paint your nails with a neutral base color
- Apply a small amount of nail glue to the area you want to decorate
- Using tweezers, place different shaped rhinestones (squares, triangles, circles) in a cluster
- Fill in gaps with tiny round rhinestones
- Seal with a top coat
Pro tip: Create a focal point by placing larger stones in the center and smaller ones around the edges.
Creative Rhinestone Nail Art
Let your imagination run wild! These creative designs prove that rhinestones are not just for adding sparkle. They are a versatile tool for creating intricate nail art.
7. Rhinestone nail designs with patterns & shapes
Why settle for random placement when you can create stunning patterns? Try these ideas:
- Floral designs: Use tiny rhinestones to create flower petals
- Geometric shapes: Arrange stones in triangles, squares, or hexagons
- Swirls and waves: Create fluid designs with a line of rhinestones
Remember: Patience is key when creating intricate designs. Take your time and use a fine-tipped tool for precise placement.
8. Rhinestones down the middle
This sleek design is perfect for widening your nails and adding a touch of elegance. Here’s how to achieve it:
- Apply your base color and let it dry
- Draw a thin line of nail glue down the center of your nail
- Place rhinestones along the line, starting from the base and moving towards the tip
- Vary the sizes for added interest. Try larger stones in the center and smaller ones at the ends
- Seal with a top coat
Pro tip: To add a twist to this look, try placing the line of rhinestones diagonally across the nail.
9. Unique geometric designs
Geometry is not just for math class! Use rhinestones to create eye-catching geometric patterns on your nails. Try these ideas:
- Triangle tip: Create a triangle at the tip of your nail using rhinestones
- Chevron design: Arrange stones in a V-shape across your nail
- Criss-cross pattern: Use thin lines of rhinestones to create an X or grid pattern
Remember: Symmetry is key for geometric designs. Before applying your stones, use a dotting tool to mark where they should go.
Trendy Rhinestone Nail Ideas
Stay ahead of the curve with these on-trend rhinestone nail designs. They’re fresh, fun, and sure to turn heads.
10. Rhinestone French tips
Give the classic French manicure a glittery upgrade. Here’s how:
- Apply a sheer pink or nude base to your nails
- Using nail glue, place a line of rhinestones along the tips of your nails
- Vary the size of the stones for a more dynamic look
- Seal with a top coat
Pro tip: For a modern twist, try a colorful base with contrasting rhinestones for your French tip.
11. Ombre nails with rhinestones
Combine two trends in one with this stunning look. Here’s how to do it:
- Create an ombre effect on your nails using two or more complementary colors
- Once dry, apply rhinestones to the lighter part of the ombre
- Start with larger stones near the cuticle and gradually use smaller ones towards the tip
- Seal with a top coat
Remember: The key to a good ombre is blending. Use a makeup sponge for a smooth transition between colors.
12. Rhinestones and negative space
Negative space designs are all the rage; adding rhinestones takes them to the next level. Try this:
- Apply a base coat to your nails
- Use nail tape to create geometric shapes on your nails
- Paint over the entire nail, then carefully remove the tape
- Once dry, add rhinestones to the painted areas or along the edges of the negative space
- Seal with a top coat
Pro tip: To keep the negative space clean and crisp, use a small brush dipped in acetone to clean up any mistakes.
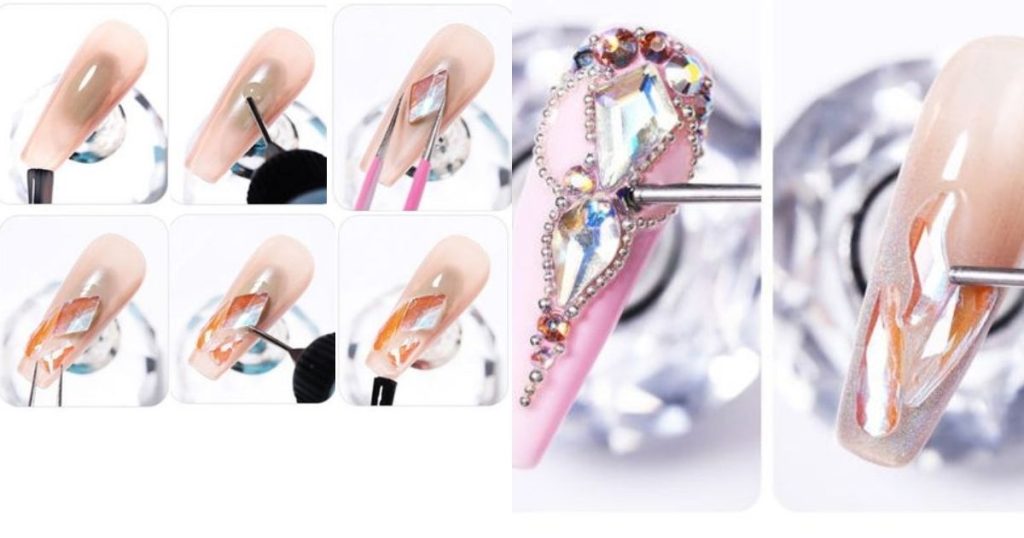
How to Apply Rhinestones to Nails
Now that we’ve explored some stunning designs let’s discuss how actually to apply those tiny gems to your nails. There are several methods, each with its own pros and cons.
Using nail polish to secure rhinestones
This method is great for beginners and works well for smaller stones. Here’s how:
- Apply your base color and let it dry completely
- Add a drop of wet polish where you want to place the rhinestone
- Quickly place the rhinestone on the wet polish
- Let it dry, then seal with a top coat
Pro: This method is easy and doesn’t require any special tools. Con: It may not be as secure as other methods, especially for larger stones.
Adhering rhinestones with nail glue
Nail glue gives a stronger hold, which is ideal for larger stones or more elaborate designs. Follow these steps:
- Apply a tiny dot of nail glue where you want the rhinestone
- Use tweezers to place the rhinestone on the glue
- Hold in place for a few seconds until set
- Once all stones are placed, seal them with a top coat
Pro: Provides a very secure hold. Con: Can be messy if you’re not careful.
Applying rhinestones with gem sealer gel
This method is favored by professionals for its durability and ease of use. Here’s how:
- Apply a thin layer of gem sealer gel where you want the rhinestones
- Place the rhinestones on the gel
- Cure under a UV or LED lamp according to the gel’s instructions
- Apply a final layer of gel top coat and cure again
Pro: Extremely durable and professional-looking results. Con: It requires special equipment (UV/LED lamp) and other products.
Where to Place Rhinestones on Your Nails
The placement of your rhinestones can make or break your design. Let’s explore some strategic placement options and tips for balancing your design.
Strategic placement for different effects
- Base of the nail: Placing rhinestones near the cuticle draws attention to the whole nail
- Tip of the nail: Rhinestones at the tip create an elongating effect
- Side placement: Lining one side of the nail with rhinestones creates an asymmetrical, modern look
- Scattered placement: Randomly placed stones create a starry night effect
Tips for balancing your design
- Consider nail shape: Oval nails look great with centralized designs, while square nails can handle edge-to-edge placement
- Think about proportion: Use larger stones as focal points and smaller ones for accents
- Don’t overdo it: Sometimes, less is more. A single well-placed rhinestone can be just as impactful as a fully covered nail
- Create harmony: If you’re doing multiple nails, make sure the overall design is cohesive
Remember: Your nail art should complement your style, not overpower it. Find a balance that works for you!
Tools and Tips for Picking Up Rhinestones
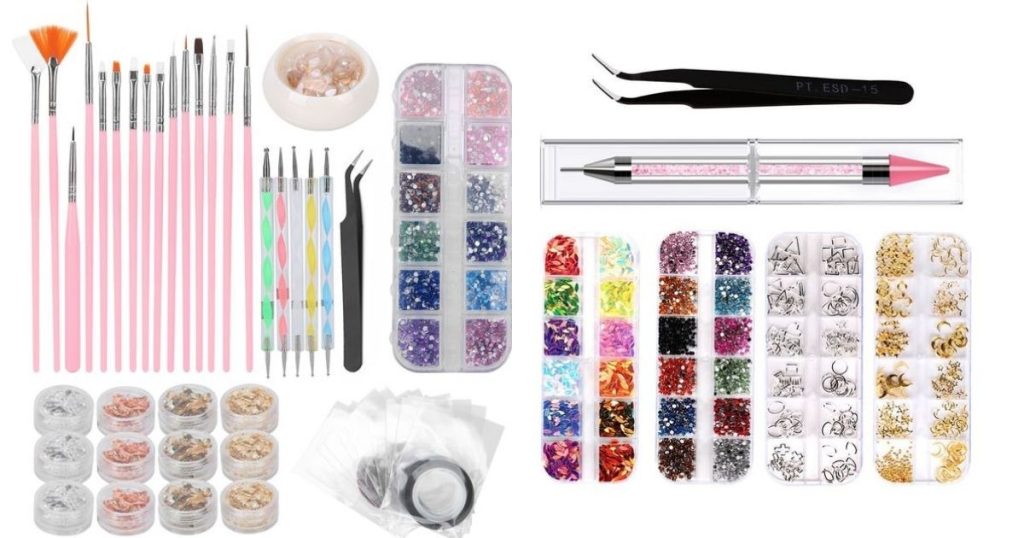
Working with tiny rhinestones can be tricky. The right tools and techniques can make all the difference.
Using tweezers and wax pencils
- Tweezers: Opt for fine-tipped tweezers for precise placement. Reverse tweezers, which close when you release pressure, can be especially helpful
- Wax pencils: These handy tools have a wax tip that can pick up rhinestones easily. Touch the stone with the wax tip, place it on your nail, and release
Best practices for handling rhinestones
- Work on a flat, well-lit surface
- Use a rhinestone picker-upper or a piece of putty to select easily and place stones
- Have a small dish or bead organizer to keep your rhinestones sorted by size and color
- If you drop a rhinestone, use a lint roller to pick it up quickly
- Keep a damp cloth nearby to clean your tools if they get sticky
Pro tip: Try working on a contrasting background if you’re having trouble seeing small rhinestones. A black mat works well for light-colored stones, while a white surface is better for darker ones.
Conclusion
Rhinestone nail designs are a fantastic way to add sparkle and personality to your manicure. Whether you prefer a subtle accent or full-on glam, there’s a rhinestone design out there for everyone. Remember, practice makes perfect, so don’t get discouraged if your first attempt isn’t salon-worthy.
With the right tools, techniques, and a bit of patience, you’ll be creating stunning rhinestone nail art in no time. So go ahead, give it a try! Your nails deserve to shine. After all, life’s too short for boring manicures. Now, go forth and sparkle!
Thank you for your precious time spent with Glammerhub