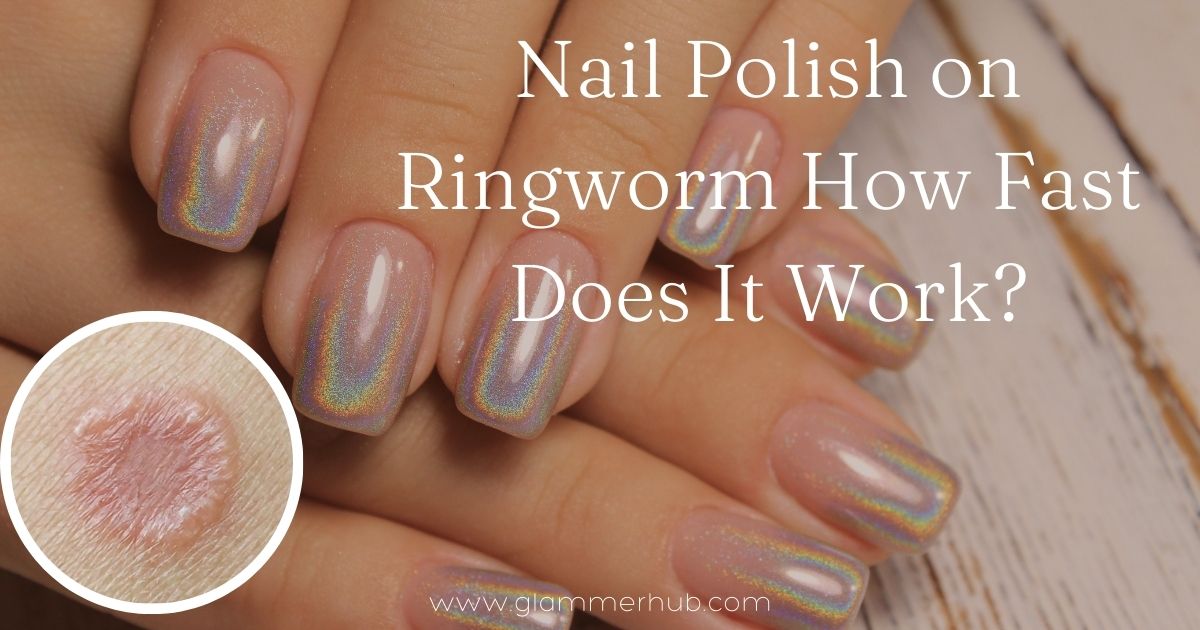
Are you curious about using nail polish on ringworm? Ringworm, despite its name, isn’t caused by worms but by a fungal infection affecting the skin, hair, or nails. Dealing with the discomfort and embarrassment it brings can be tough.
Many seek quick and effective remedies, and that’s where nail polish comes into play. Nail polish, usually known for beautifying nails, is now being explored as a potential solution for ringworm. So, does clear nail polish kill ringworm? Let’s dive into the world of nail polish and its potential as a treatment.
This article will help you understand if nail polish can truly help eliminate ringworm and how long it might take to see improvements. The science behind this approach, the procedure, and the necessary precautions will be explored.
Clear fingernail polish for ringworms is gaining attention, and we’ll explore if it’s a viable solution. Join us on this journey to discover whether nail polish can be a game-changer in the fight against ringworm discomfort and how it might benefit you.
How Nail Polish Works to Treat Ringworm Infections
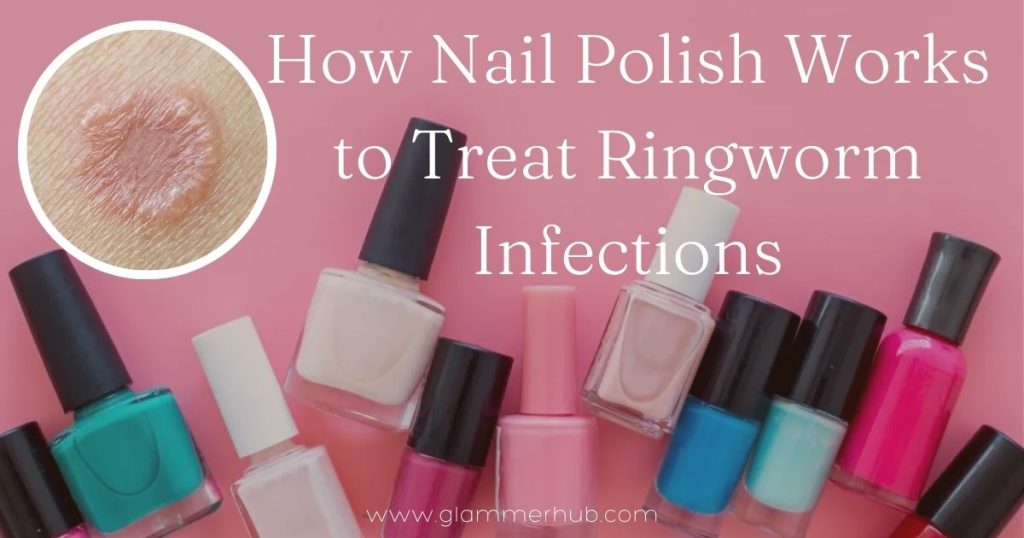
Ringworm, or tinea corporis, is a fungal skin infection that can create round or ring-shaped rashes. It happens when different kinds of fungi affect the skin, like on the scalp, body, or feet.
Now, some people wonder if putting nail polish on ringworm works. But, using nail polish isn’t a good or suggested way to treat ringworm. Despite that, some still believe in this special treatment. The reason why some think nail polish helps is that it blocks the fungi causing the infection.
The nail polish covers the skin on the affected part, closing the pores and making it hard for the fungi to grow. This causes the skin to dry up, and the fungi go away. The body gradually sheds the skin in that area, clearing the infection. In the end, the skin looks clear and healthy.
How to Cure Ringworm with Nail Polish

The time it takes for nail polish to kill ringworm varies based on the size and severity of the affected area. After a week, you’ll notice the spots beginning to fade gradually. Generally, it takes 2 to 3 weeks for nail polish to effectively eliminate ringworm.
To complete the entire process of getting rid of ringworm, you’ll need clear nail polish, a clean applicator, mild soap, a towel, and water. Now, let’s go through the steps of applying clear nail polish to ringworms to effectively eliminate them.
1. How to Choose Perfect Nail Polish
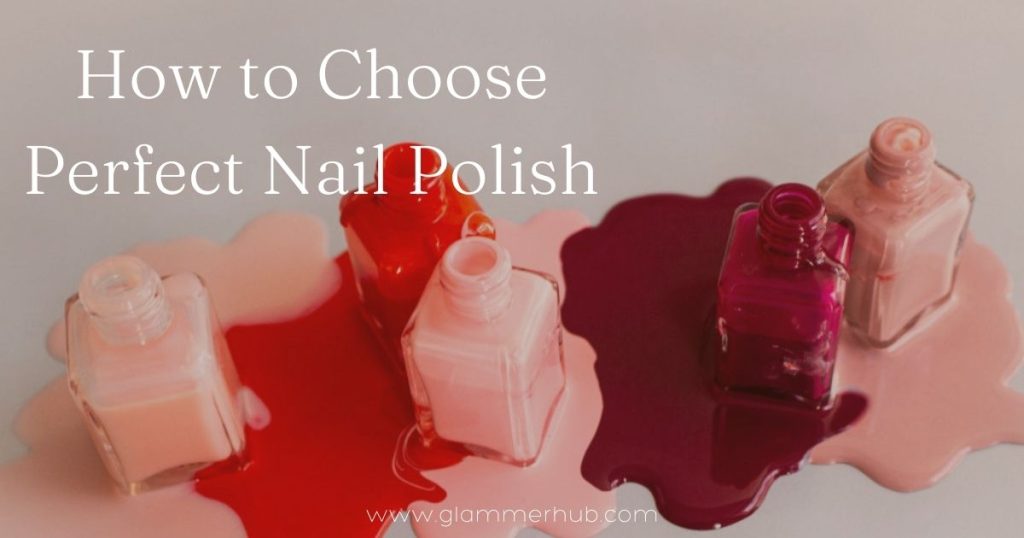
Opt for a high-quality clear nail polish with antifungal components such as tolnaftate or undecylenic acid. These ingredients play a crucial role in skin care by inhibiting fungal growth. Choosing a top-notch nail polish from a reputable brand is essential for the effectiveness of the process.
Prioritise a clear, perfect nail polish that meets high-quality standards and contains antifungal elements, ensuring it contributes to skin health. This careful selection aims to restrict fungal growth on the skin, making it an important step. Opting for a renowned brand adds credibility and trustworthiness to the chosen nail polish.
2. Get the Infected Area Ready
Before applying nail polish, it’s crucial to adequately prepare the affected area. Begin by thoroughly cleaning the area with a gentle soap and water. Afterwards, carefully pat the area dry using a clean, dry towel.
Ensuring that the affected area is completely dry is essential before proceeding with the application of nail polish. This preparation step is vital to optimize the effectiveness of the nail polish in treating the affected area.
By maintaining a clean and dry surface, you create an ideal environment for the nail polish to adhere and address the issue, promoting better outcomes in the treatment process.
3. Apply the colorless Nail Polish
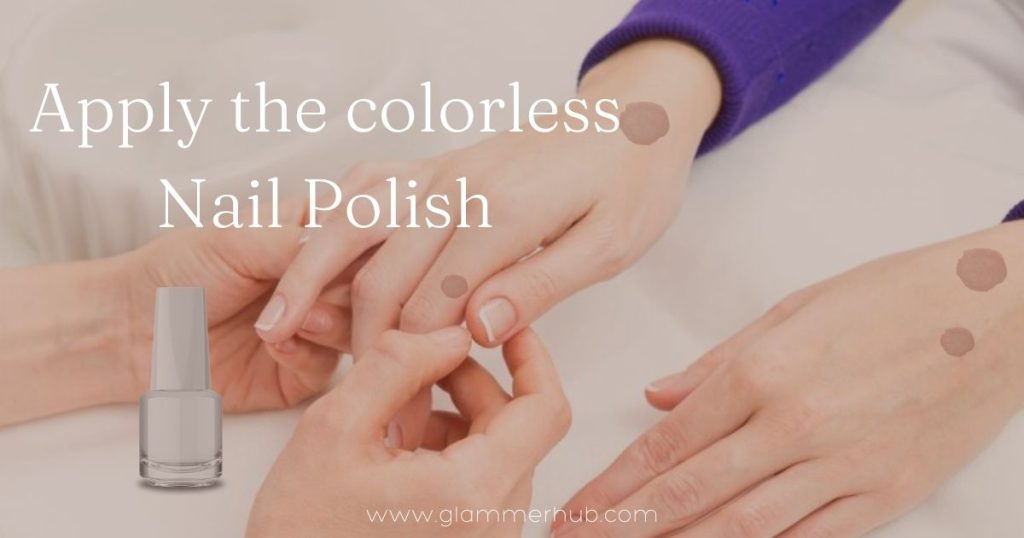
Utilize a clean applicator to delicately apply a thin layer of clear nail polish over the ringworm wound. Ensure comprehensive coverage by extending beyond the edges of the ringworm to include the entire affected area.
This careful application process is vital for the effectiveness of the treatment. By coating the entire region, you create a barrier that aids in suffocating the fungi causing the infection.
The thin layer of clear nail polish plays a crucial role in sealing the affected area, hindering fungal growth, and promoting the drying-up process. This step is key to fostering optimal conditions for the nail polish treatment to take effect.
4. Let the Nail Polish harden
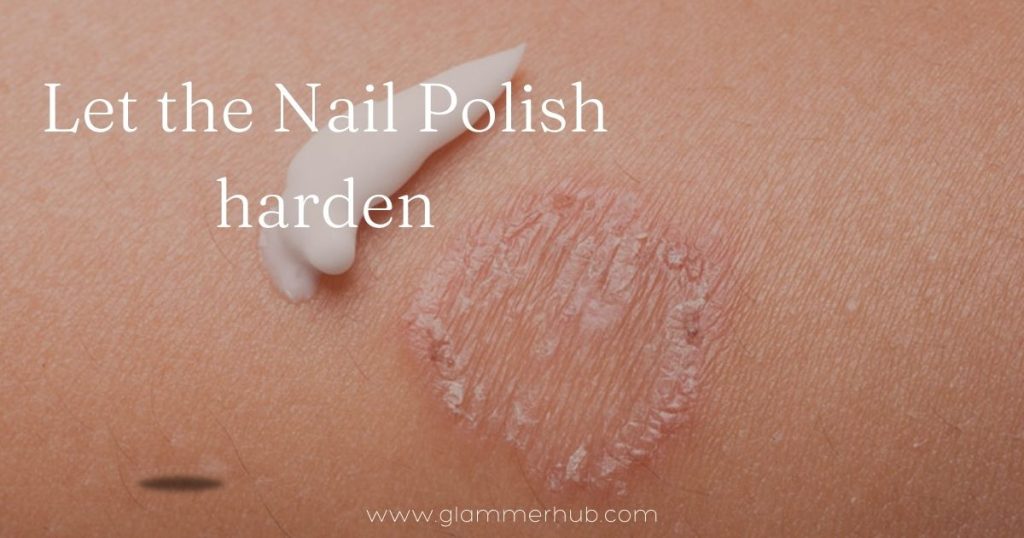
Before covering the treated area with clothing or applying other products, allow the clear nail polish sufficient time to fully cure. Typically, this process takes a few minutes, although the drying time may vary depending on the nail polish brand used.
Exercise patience during this drying period and refrain from touching or scratching the treated area. Giving the clear nail polish ample time to cure is essential for its effectiveness in creating a protective barrier over the ringworm-affected area.
By being patient and avoiding contact, you enhance the chances of the treatment successfully addressing the fungal infection and promoting skin recovery.
Step 5: Reapply if you think it is needed.
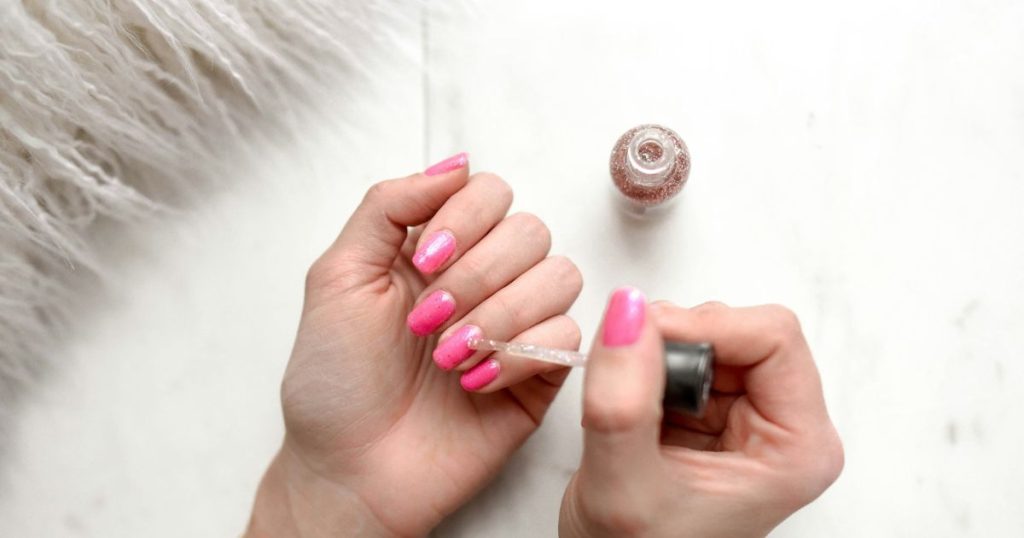
Photo By Unsplash
When contemplating the frequency of nail polish reapplication, refer to the instructions provided on the label. Typically, clear nail polish may necessitate reapplication every 1-2 days, or as specifically directed by your healthcare provider.
It is imperative to adhere to the recommended guidelines for optimal results in treating ringworm. Additionally, consistently remove the previous coat of polish before applying a new one. Following these steps ensures the continuous effectiveness of the treatment.
The duration between applications may vary based on the brand and formulation of the nail polish, as well as the severity of the ringworm infection. Always prioritize adherence to the prescribed schedule, as it plays a crucial role in maintaining the protective barrier and fostering an environment conducive to the elimination of the fungal infection.
4 Side Effects and 6 Precautions of Using Nail Polish to Kill Ringworm

Nail polish is primarily intended for cosmetic purposes on fingernails or toenails and is not designed to address fungal infections. Using nail polish on ringworms lesions may exacerbate the condition for some individuals.
For an effective treatment of ringworm, opt for antifungal medications available as topical creams, ointments, or oral medications, depending on the infection’s severity and location. Consulting with a dermatologist can help determine the most suitable treatment plan.
Since nail polish is not a conventional and effective medical treatment for ringworm, it may come with limitations and potential side effects.
Here are some explained side effects:
- It can cause burns.
- Not all ringworms may fade away.
- Treating areas around joints may be challenging.
- Using it on highly sensitive skin can cause severe damage.
To minimize risks, follow these precautions:
- Use a Q-tip instead of a nail polish brush.
- Check the ingredients of the nail polish.
- Avoid applying clear nail polish excessively thickly.
- Refrain from dipping the Q-tip multiple times to prevent fungus contamination.
- After contact with the affected area, wash your hands before touching other parts of your body.
- Do not share personal items like clothes, underwear, socks, towels, etc., to prevent spreading the infection to others.
You may like;
Shower After an Ice Bath Myth or Necessity
FAQs
1: Is clear nail polish a scientifically proven remedy for ringworms?
No, using clear nail polish is not a scientifically proven treatment for ringworm; conventional antifungal medications are more effective.
2: How long does it take for clear nail polish to eliminate ringworms?
It may take 2 to 3 weeks to see improvements, with spots beginning to fade after the first week.
3: What factors should be considered when selecting clear nail polish for ringworm?
Choose a high-quality clear nail polish with antifungal components such as tolnaftate or undecylenic acid from a reputable brand.
4: Can clear nail polish be reapplied if necessary?
Follow the label instructions for reapplication frequency, typically every 1-2 days, and remove the previous coat before applying a new one.
5: What are the potential side effects of using clear nail polish on ringworms?
Using nail polish on ringworm may cause burns, and not all lesions may fade away; it is not a conventional medical treatment and may have limitations.
6: How can risks be minimized when using clear nail polish for ringworm?
To minimize risks, use a Q-tip instead of a brush, check nail polish ingredients, avoid excessive thickness, and refrain from dipping the Q-tip multiple times. Wash hands after contact and avoid sharing personal items to prevent infection spread.
Conclusion
While the use of clear nail polish for ringworm treatment may be a popular belief, it lacks scientific validation and poses potential risks. Conventional antifungal medications are established as more effective options.
The article emphasizes the importance of selecting high-quality nail polish with antifungal components and highlights the cautious application process.
However, the potential side effects and limited efficacy suggest that seeking advice from a healthcare professional for proper ringworm treatment remains crucial, prioritizing well-established medical interventions over unconventional remedies.
Thank you for your precious time spent with Glammerhub